

A Quick Look at Dreamweaver CS4 - Part 3
Part 1 |
Part 2 |
Part 3 |
Part 4 |
Part 5 |
Part 6
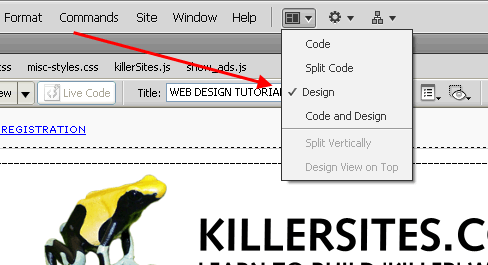
The new 'Layout' drop-down-list and a couple of new layout options
If you look at the top menu bar, you will find the 'layout' drop-down-list third from the right. We now have two new layout modes to choose from:
- Split code
- Split vertical
Screenshot: layout drop-down
Split Code
We've had split view for years, but never before could you view the code in two different windows. This may not seem obvious to you now, but as you get deeper into code and PHP, you will find how this can come in handy.
For example: you may have a page that requires a lot of scrolling to view the code. So being able to, say, have the one window fixed near the top of the page and the other window near the bottom can save a lot of time from having to scroll your page back and forth as you make changes.
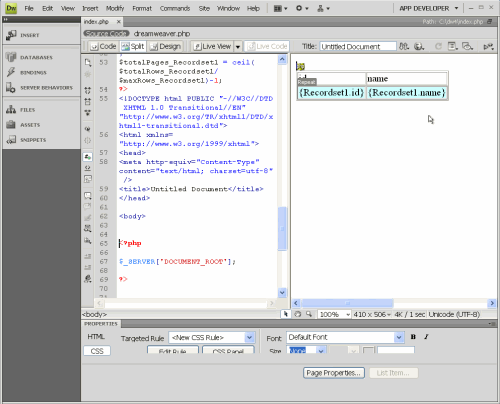
Split Vertical
This is a new option that comes with Dreamweaver CS4 that allows us to see a page split vertically (side by side) rather than being stacked on top of each other. I've quickly found that this seemingly simple addition to the program is actually really useful because it makes it easier to work with larger documents — especially when working directly in code view.
Screenshot: Split Vertical
The PHP tools
Now that we've looked at some of the major user interface changes, let's take a look at the tools in Dreamweaver CS4 that will specifically impact our PHP work.
We can divide these tools into two basic groups:
- The point-and-click tools
- Databases tab
- Server behaviors tab
- Bindings tab
- Components tab (not used with PHP)
- The 'Data' Insert Panel
- The code editing tools
Let's first take a look at the point-and-click PHP tools
Databases Tab
To connect to a MySQL database with PHP, you typically have to write out specific PHP code. The Databases tab is the place where you can create connections to MySQL databases in Dreamweaver CS4 - without you having to write a line of PHP code!
Screenshot-databases tab (with create new connection window open)
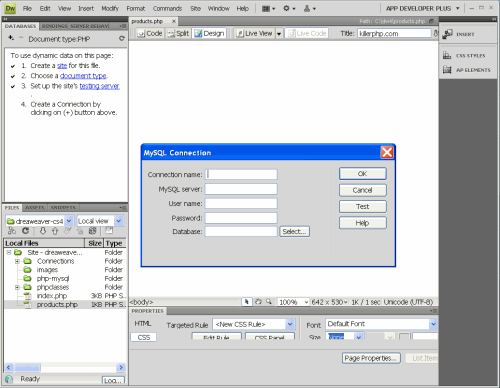
Let me take a step back and explain a couple of things: To be able to have PHP and MySQL interact, you first need to create a programmatic connection between the PHP scripts and to the MySQL database server.
PHP itself takes care of this by providing a bunch of convenient tools (called 'functions') that handles all the dirty details. Then Dreamweaver takes it a step further, by taking care of all the PHP code for you.
All you need to do is provide Dreamweaver with some basic connection information (which we will get into later) and Dreamweaver will then automatically write out all the PHP code (pre configured with the connection information you provide) and make it available for you to use in your page.
The Databases tab (as the name would imply) allows you to connect to as many databases as you like and to as many MySQL servers.
For example:
You could have a web site where you are actually connecting to many databases (in the same MySQL server), so for each database, you would need to create a separate database connection.
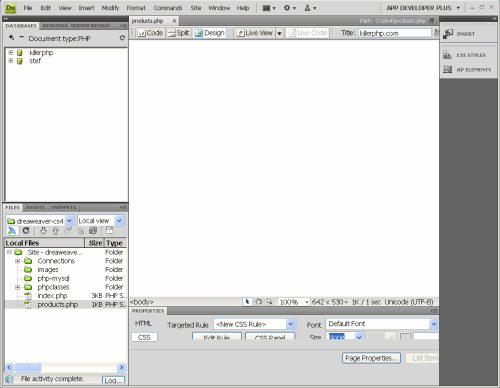
It even goes beyond that; you can with the Dreamweaver Databases tab, create connections to not only many databases, but you could create connections to many MySQL database servers. Please remember that you can have many databases in a single installation of a MySQL server — this can confuse people at first.
Screenshot: many databases connections in Database panel
A case in point:
I once had a dynamic web site that was connecting to a MySQL database server set up in Texas, while on the same page, I was also connecting and talking to another MySQL database running in Montreal Quebec. I'm not going to get into the nitty-gritty details as to why I was doing this, all you need to take away from this is that the Dreamweaver Databases tab allows you to create connections to as many databases and to as many MySQL servers as you like.
Once we get into building our actual PHP pages, we will be doing this kind of stuff first hand. By the way, If there is anything unclear to you now, don't worry, it we all clear up once we get into the practical examples.
Server Behaviors tab
Once you've used the Databases tab to create connections to your MySQL database(s), you will then have access to the server behaviors tab. This tab is where you can use Dreamweaver's powerful code generating tools to send and retrieve information from a MySQL database.
Actually, if you look at the Server Behavior tab, Dreamweaver actually provides a list of the things you need to do to use the Server Behaviors:
Screenshot: server behavior tab with checkboxes
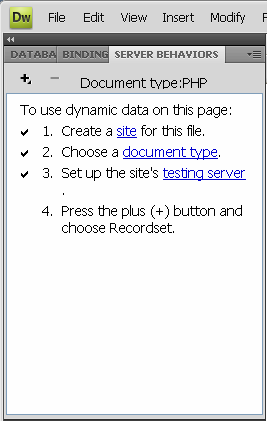
The Server Behaviors tab holds a lot of Dreamweaver's power with regards to database related operations. We will get into them in later chapters, for now though, I want to point out the backbone of this tab — actually, the very first option of the Server Behaviors tab: the Recordset.
What is a Recordset?
In a nutshell: a recordset is simply a SET of records sucked out of a database. Dreamweaver's Recordset server behavior is really a combination of two things that Dreamweaver automatically generates for you:
- PHP code that manages the interactions with the database.
- SQL code (SQL is the language of databases) that 'speaks' to the database.
You can create many different Recordsets where each one retrieves different sets / packages of information. The Server Behavior tab creates nice little icons for each Recordset you create, giving you a visual representation of all the code behind the Recordset — this makes it easier for you to work with data coming from a database.
I should point out that the concept of a recordset is not unique to PHP or Dreamweaver — every program language I've ever used (that works with databases) uses the 'recordset' term to refer to chunks of data coming from a database.
 Subscribe to RSS


